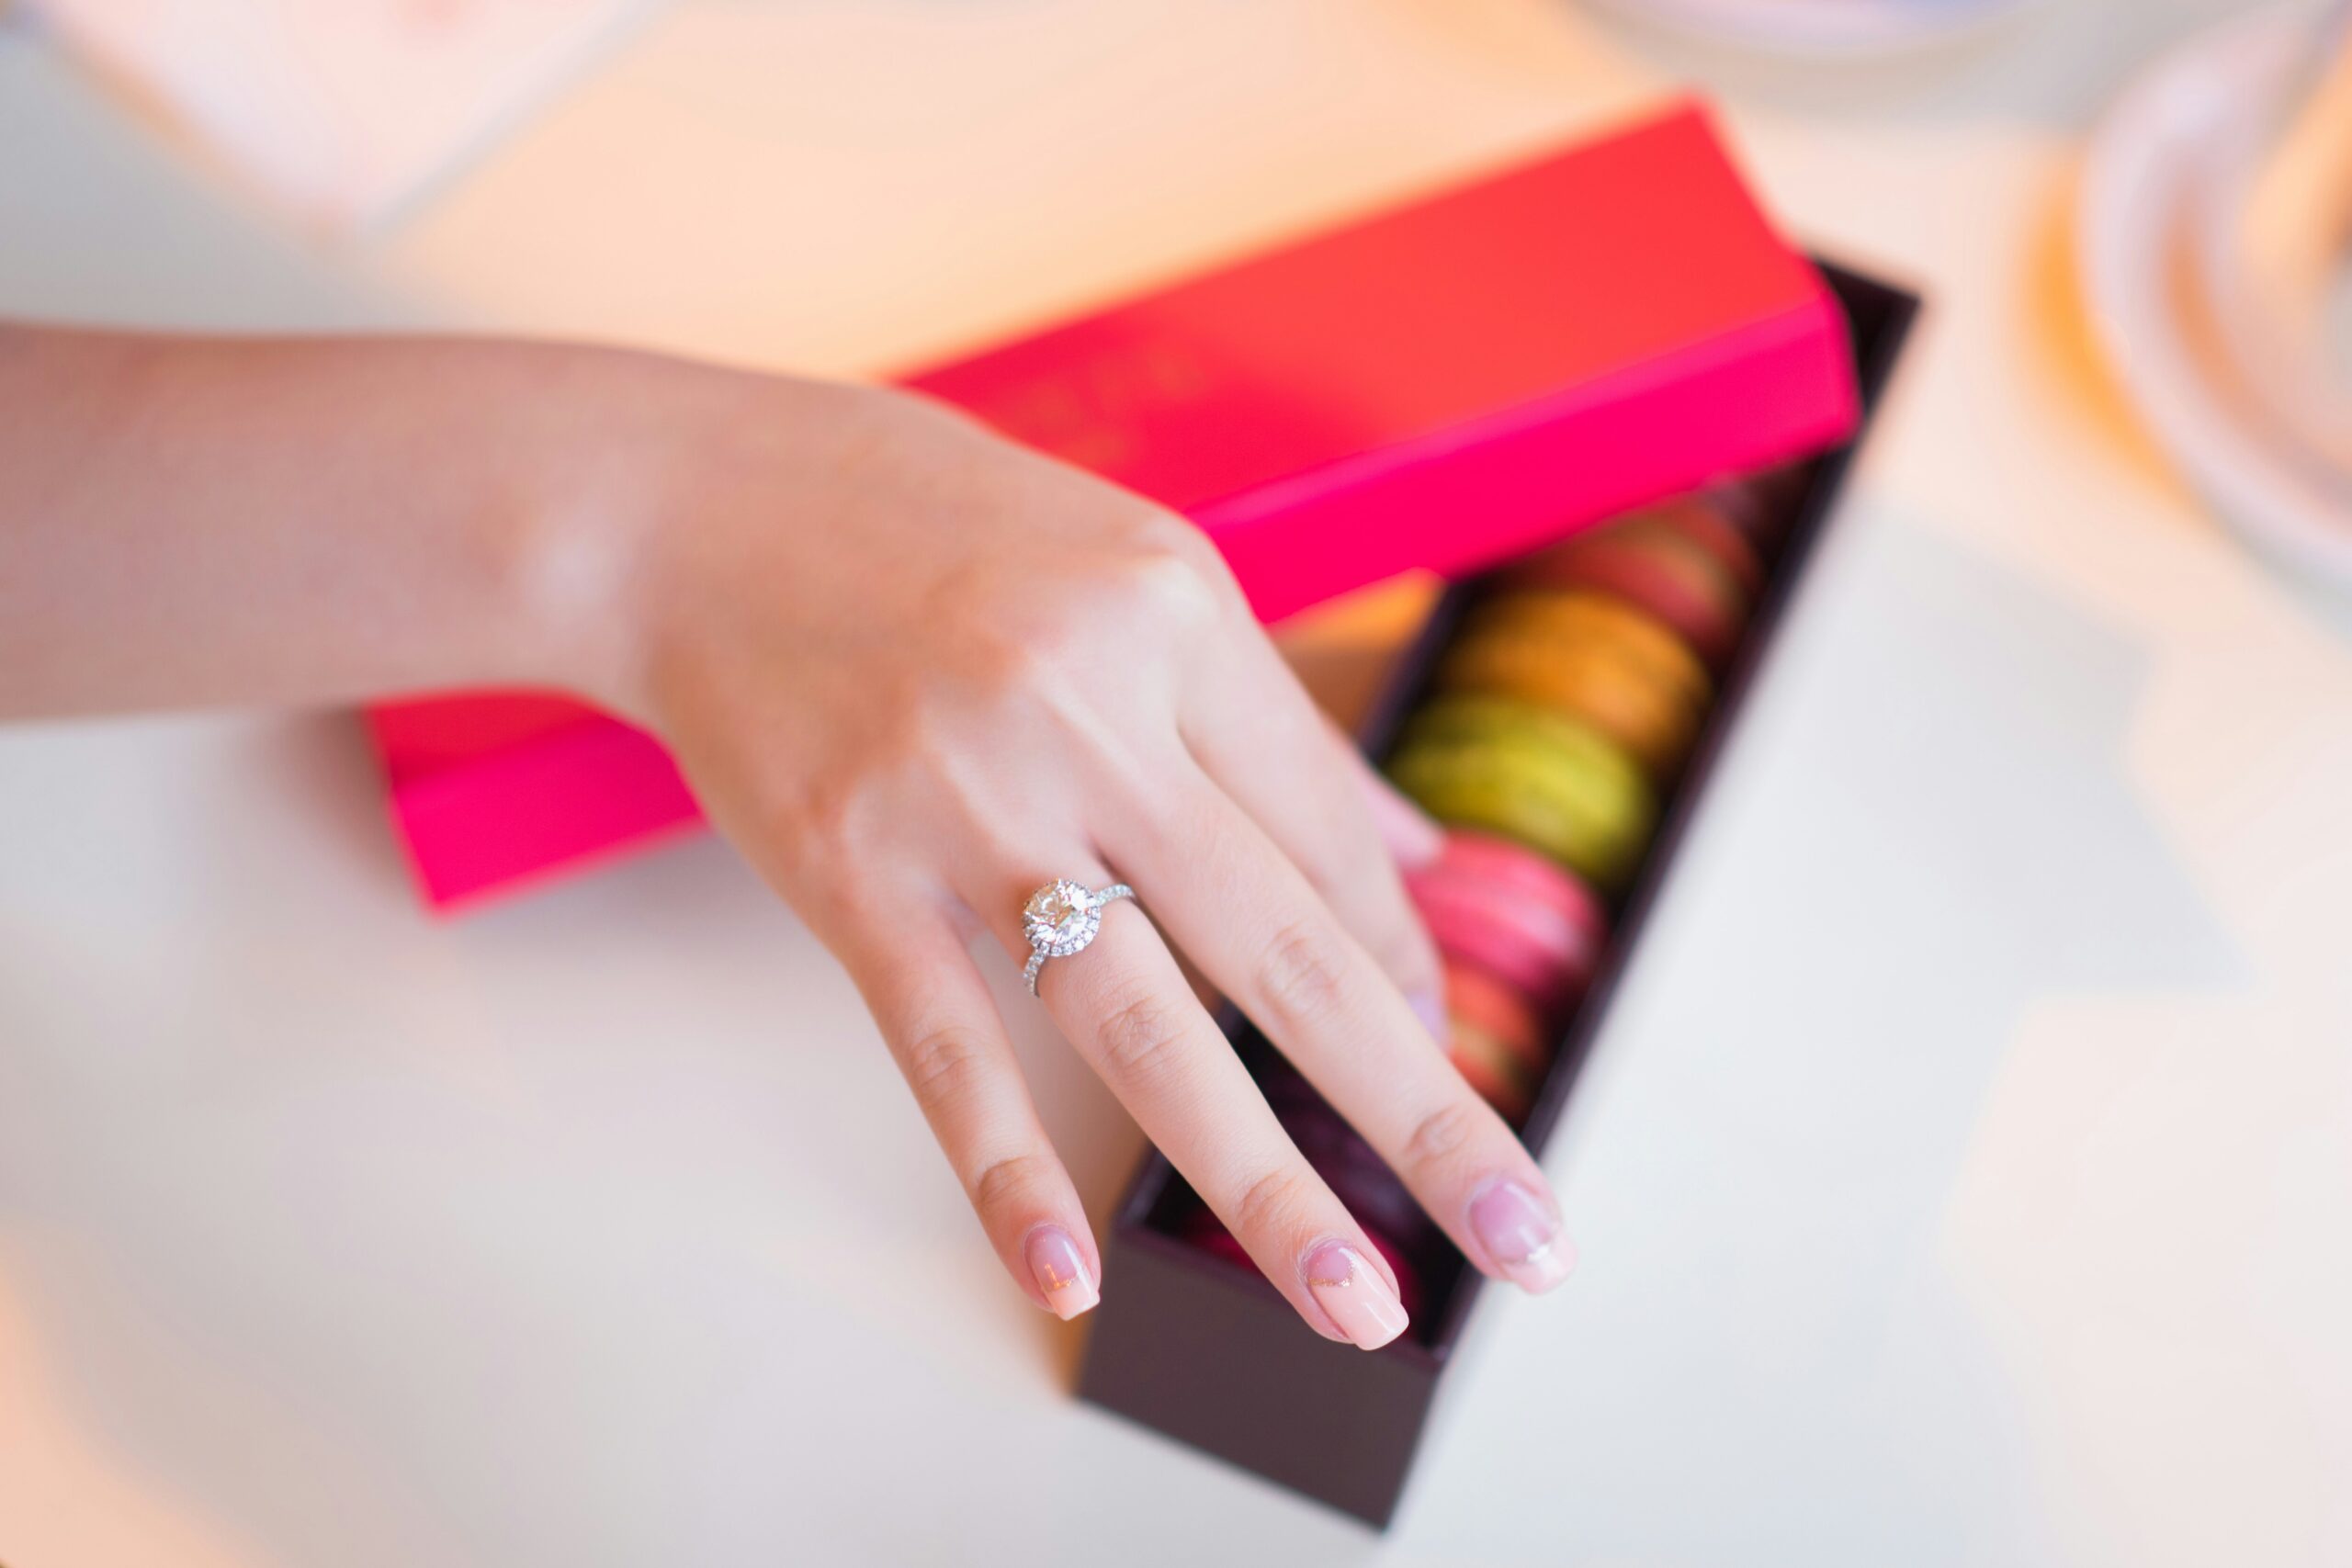
The French manicure has stood the test of time as a go-to style for its elegance, simplicity, and ability to complement any outfit. Its trademark pale pink base with a white tip speaks of sophistication and timeless beauty. But you don’t need to make a salon appointment to get this chic look. With the right tools and technique, you can create a French manicure right at home. Here’s how to achieve the classic French tip manicure with salon-worthy results.
Prep Your Nails for Perfection
Before you dive into painting, it’s essential to prepare your nails for the manicure. Start with a clean canvas by removing any old nail polish with a gentle nail polish remover. Next, shape your nails using a file. The traditional French manicure typically features a square or slightly rounded tip, so file accordingly to your preference.
Once your nails are shaped, soak your hands in warm soapy water for a few minutes to soften the cuticles. Gently push the cuticles back with a cuticle stick or pusher but do not cut them. Afterward, dry your hands completely, as moisture can prevent polish from adhering correctly.
Lay the Foundation
Apply a base coat to protect your nails and create a smooth surface for the polish to adhere. Allow the base coat to dry. Then, apply a thin layer of the pale pink or nude polish over your entire nail. This will be the base color of your French manicure. Let this layer dry fully before moving on to the white tips.
Creating the Perfect White Tips
The most challenging part of a French manicure is painting the white tips evenly. Many people use French tip guides—stickers placed on the nail to mark off where the white polish should stop. You can find these guides at most beauty supply stores.
Press the guide firmly below the free edge of your nail, following the natural curve or creating the desired smile line for your tip. If you don’t have tip guides, you can use tape or even paint the tips freehand for a more rustic look.
Next, apply white nail polish on the tip of your nail that’s above the guide. Use a steady hand and do not apply too much polish – it is better to start with a thin coat and add a second if necessary. Remove the guide carefully while the paint is still wet to avoid taking off any polish with it. Wait for your tips to dry completely.
The Finishing Touches
Once the white tips are dry, apply a second layer of your base color if you need to cover any imperfections, but make sure to apply it lightly so as not to disturb the white paint underneath. Then, apply a clear topcoat to seal in your work, add shine, and protect your French manicure from chipping.
Maintenance and Care
To keep your French manicure looking fresh, reapply a clear top coat every two or three days. If you notice any chips, you can usually fix them easily with a dot of white on the tip and a thin layer of a topcoat once the repair is dry.
Troubleshooting
If you struggle with painting a straight line for your tips, don’t get discouraged. It takes practice. In the meantime, keep some polish remover and a small brush or cotton swab handy to clean up any mistakes. Remember that patience and a steady hand are crucial to achieving a salon-quality French manicure at home.
Conclusion
Mastering the art of the French manicure is a great way to ensure your nails always look professionally done without the time or expense of a nail salon. It’s a classic look that adds a touch of sophistication to any style. With practice and patience, you can easily achieve a beautiful French manicure at home.


Leave a Reply